replaced http://android.stackexchange.com/ with https://android.stackexchange.com/
Source Link

I later realized that the major inconvenience in my solution, the touch input, can be stopped if I use Tasker's scenes in overlay blocking mode.

(Click image to enlarge)

IMG: IMG: IMG:

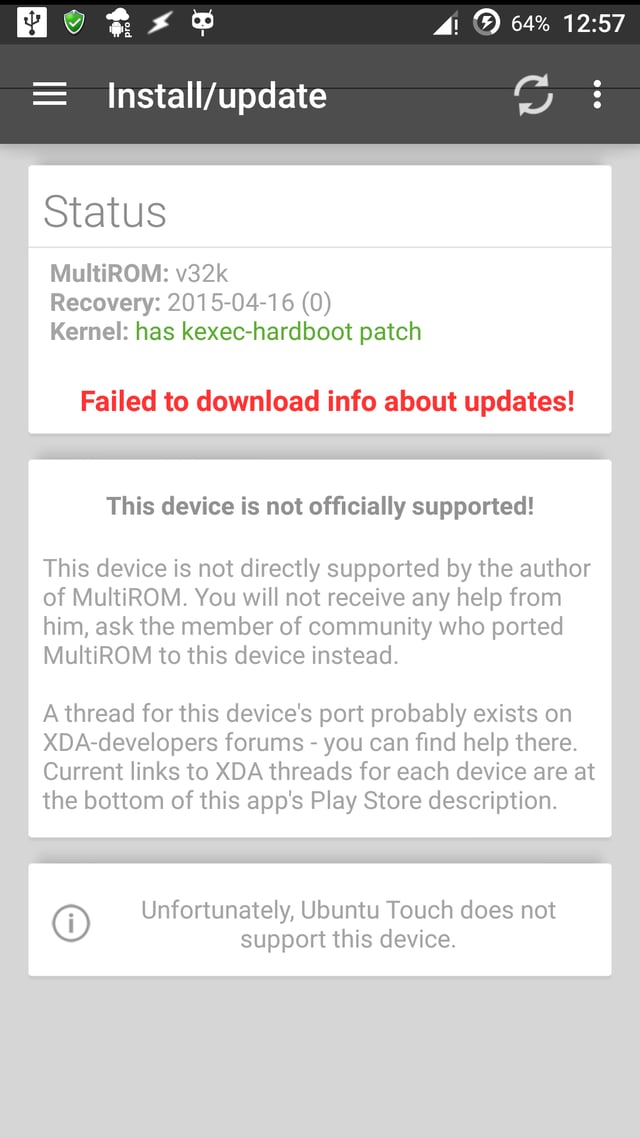
I created several blank scenes and configured task to display them in such a way, that only a small fraction of screen can send touch input to app (fraction is allowed because I need to do input tap). The Manage ROMs window works well with DPAD key events so I used Task → Input → Dpad to reach my preferred ROMs entry and tap it.

To disable input from navigational keys, I used Xposed Additions Pro. HereHere are the relevant instructions. (Follow instructions there up to step 10.)

I also successfully tested AutoInput as an alternative for Xposed Additions. In a task, its relevant usage is:

Plugin → AutoInput → Modes:

  1. Configuration:

    1. Key Suppress: Enable
    2. Keys: your navigation key
  2. Timeout (Seconds): None

Make sure to enable its accessibility service in Settings → Accessibility.

This solution is not convenient as much as my other solutionmy other solution is, but it gets the job done.

I later realized that the major inconvenience in my solution, the touch input, can be stopped if I use Tasker's scenes in overlay blocking mode.

(Click image to enlarge)

IMG: IMG: IMG:

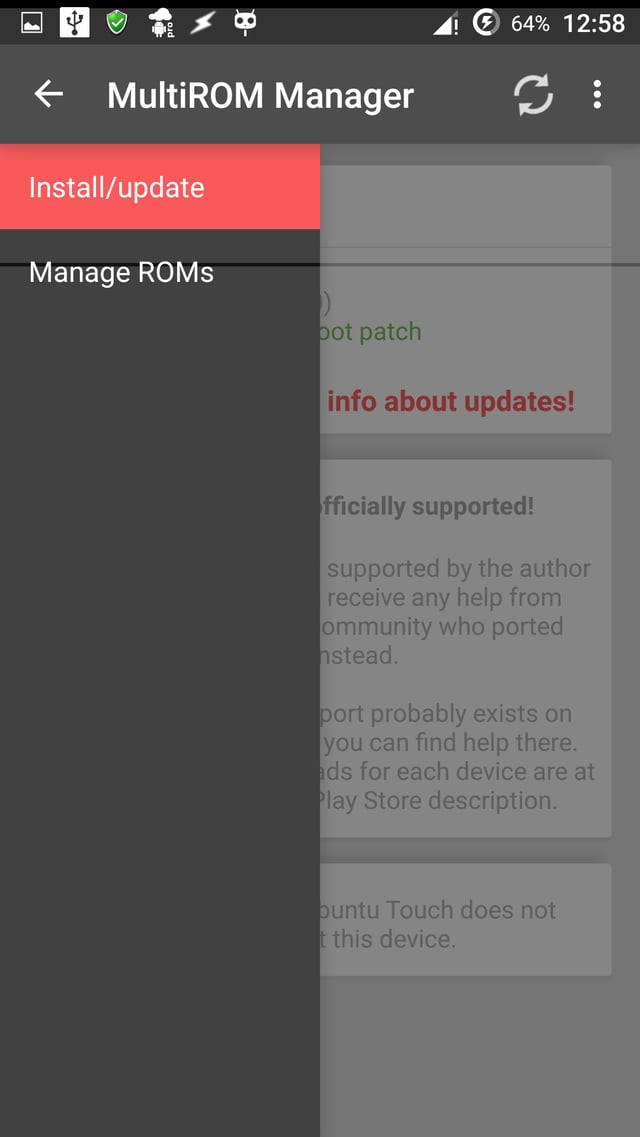
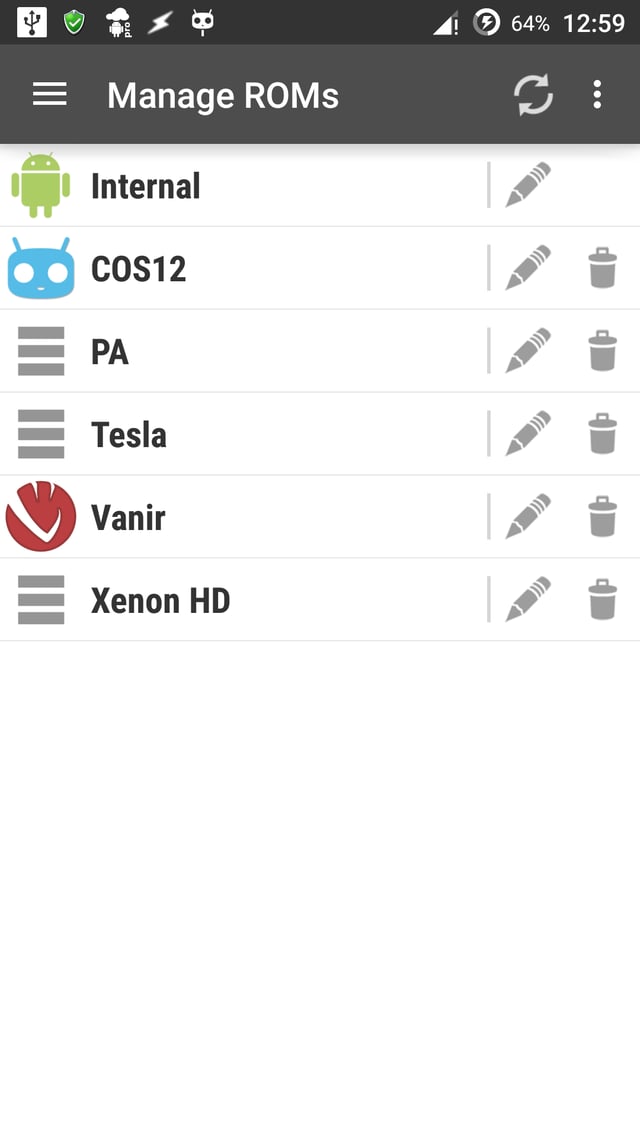
I created several blank scenes and configured task to display them in such a way, that only a small fraction of screen can send touch input to app (fraction is allowed because I need to do input tap). The Manage ROMs window works well with DPAD key events so I used Task → Input → Dpad to reach my preferred ROMs entry and tap it.

To disable input from navigational keys, I used Xposed Additions Pro. Here are the relevant instructions. (Follow instructions there up to step 10.)

I also successfully tested AutoInput as an alternative for Xposed Additions. In a task, its relevant usage is:

Plugin → AutoInput → Modes:

  1. Configuration:

    1. Key Suppress: Enable
    2. Keys: your navigation key
  2. Timeout (Seconds): None

Make sure to enable its accessibility service in Settings → Accessibility.

This solution is not convenient as much as my other solution is, but it gets the job done.
Source Link
Firelord
  • 25.3k
  • 21
  • 126
  • 292

I later realized that the major inconvenience in my solution, the touch input, can be stopped if I use Tasker's scenes in overlay blocking mode.

(Click image to enlarge)

IMG: IMG: IMG:

I created several blank scenes and configured task to display them in such a way, that only a small fraction of screen can send touch input to app (fraction is allowed because I need to do input tap). The Manage ROMs window works well with DPAD key events so I used Task → Input → Dpad to reach my preferred ROMs entry and tap it.

To disable input from navigational keys, I used Xposed Additions Pro. Here are the relevant instructions. (Follow instructions there up to step 10.)

I also successfully tested AutoInput as an alternative for Xposed Additions. In a task, its relevant usage is:

Plugin → AutoInput → Modes:

  1. Configuration:

    1. Key Suppress: Enable
    2. Keys: your navigation key
  2. Timeout (Seconds): None

Make sure to enable its accessibility service in Settings → Accessibility.

This solution is not convenient as much as my other solution is, but it gets the job done.