I have extracted the guide below from the article which made reference
to remixos on hyper-v, however the procedure is the same for any
android x86 installation:
Install Android x86 on Hyper-V virtual machine
Installation to Hyper-V virtual machine is a bit tricky, but achievable.
First of all, create Generation 1 VM with at least 6 Gb HDD.
After creation of VM do not power on it.
Connect created VHD disk to any windows machine (Disk Management -> Right Click -> Attach VHD)
Initialize it as MBR disk.
- Format it in FAT32 file system.
- Detach VHD.
- Boot VM with Legacy ISO. Do not choose Resident or Guest mode
During boot up;
- Press TAB button. Edit your boot string to:
/kernel initrd=initrd.img root=/dev/ram0 androidboot.hardware=android_x86 androidboot.selinux=permissive quiet INSTALL=1 nomodeset vga=785
You can replace 785 with any 16bit (or 24bit) color depth code. More codes can be found at http://pierre.baudu.in/other/grub.vga.modes.html
Chose sda1 partition (vfat system)
- Do not format it.
- Chose yes for GRUB installation.
- Skip EFI GRUB2 installation.
- Choose yes for making system directory read-write.
- Choose yes for creating user data image.
Enter size of data.img. Maximum is 2047 because we formatted our dist to FAT32 file system.
You can run you Android-x86. It’ll take a while, do not panic.
Configure it as you wish.
After completion;
You need to delete extra digits after kernel path, for example if you used vga=785 previously you need to replace kernel785 with kernel . Also you need to add desired vga mode again. So your menu.lst should look like:
default=0
timeout=6
splashimage=/grub/android-x86.xpm.gz
root (hd0,0)
title Android-x86
kernel /android-2016-01-14/kernel vga=785 quiet root=/dev/ram0 androidboot.hardware=android_x86 androidboot.selinux=permissive nomodeset SRC=/android-2016-01-14
initrd /android-2016-01-14/initrd.img
title Android-x86 (Debug mode)
kernel /android-2016-01-14/kernelvga=785 root=/dev/ram0 androidboot.hardware=android_x86 androidboot.selinux=permissive nomodeset DEBUG=2 SRC=/android-2016-01-14
initrd /android-2016-01-14/initrd.img
title Android-x86 (Debug nomodeset)
kernel /android-2016-01-14/kernel vga=785 nomodeset root=/dev/ram0 androidboot.hardware=android_x86 androidboot.selinux=permissive nomodeset DEBUG=2 SRC=/android-2016-01-14
initrd /android-2016-01-14/initrd.img
title Android-x86 (Debug video=LVDS-1:d)
kernel /android-2016-01-14/kernel vga=785 video=LVDS-1:d root=/dev/ram0 androidboot.hardware=android_x86 androidboot.selinux=permissive nomodeset DEBUG=2 SRC=/android-2016-01-14
initrd /android-2016-01-14/initrd.img
- Detach VHD and boot your VM.
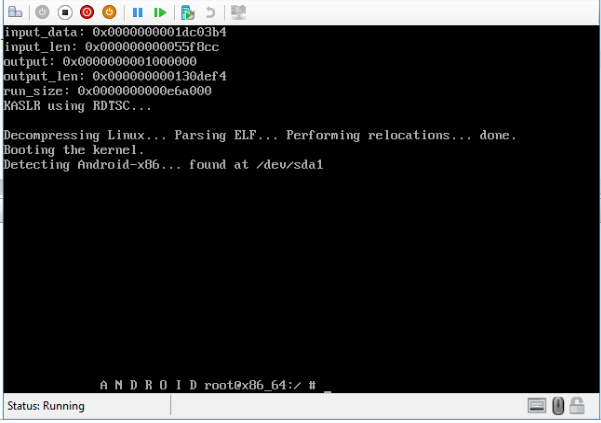
You should now get past the screen android x86
(Unfortunately couldn't upload images since I used RemixOS instead of androidx86)
Sincerest acknowledgements go to:
Install RemixOS on Hyper-V virtual machine

